Creating SPS Coral Frags and Adhesion/Mounting Methods | Tips for Securing to Substrate and Promoting Attachment
Explains methods for adhering skeletal fragments and tips for mounting SPS corals when fragmenting to increase numbers. Covers tool selection, adhesion procedures, and environmental setup to promote attachment.
Key Takeaways
Explains methods for adhering skeletal fragments and tips for mounting SPS corals when fragmenting to increase numbers. Covers tool selection, adhesion procedures, and environmental setup to promote attachment.
What is SPS Frag Creation?
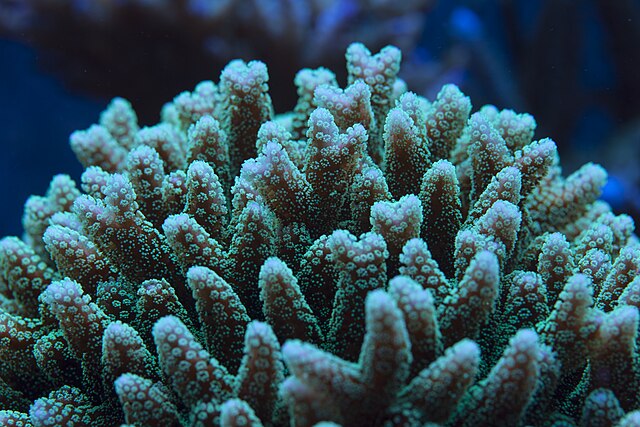
SPS (stony corals such as Acropora with branching or massive hard skeletons) are commonly propagated through "fragging"—cutting healthy branches from the parent colony, securing them to a substrate, and growing them as independent individuals. By adhering small fragments to a substrate, you can increase numbers while minimizing stress to the parent colony and make layout adjustments easier. SPS corals have hard skeletons and distinct growth tips, making their cut surfaces heal readily, so with proper handling they can typically achieve a relatively high attachment success rate. However, mounting the skeleton and securing it to a substrate require different techniques and precautions than simply dividing soft corals by hand, so it's important to understand the tools and procedures before attempting this.
Choosing a Substrate and Tools
Substrates for frag creation range in shape from small thumb-sized plugs to flat plates large enough to accommodate multiple colonies, depending on your placement needs. Materials are most commonly porous and calcium carbonate-based, with structures that allow coral tissue to easily spread across the surface. Essential tools include a cutting tool capable of cleanly severing branches without cracking the skeleton, fine-tipped tweezers for detailed work, and gloves for hand protection during the process. Substrates and tools are standard items available from aquarium specialty shops that stock coral and aquarium supplies, so you can assemble everything without special equipment.
Types of Adhesive and How to Choose
Two types of adhesive are commonly used for SPS: instant adhesive (cyanoacrylate-based) that hardens quickly even underwater, and epoxy putty that can be kneaded and shaped by hand. Instant adhesive works well for quickly securing small branches to substrate, but because it sets fast, you must position the frag carefully and quickly. Epoxy putty is easier for filling gaps or conforming to irregular substrate surfaces, and is often chosen when you want to stabilize larger chunks or when the substrate has a complex shape. Both are widely available as products safe for use in aquariums, so choose based on the size of your frags and the shape of your substrate.
Cutting and Adhesion Procedure
First, cut a healthy branch at an appropriate length that includes the growth tip (the densely colored, actively growing end of the branch). Make the cut surface as flat as possible, and rinse any slime or debris from the cut with clean water before proceeding. Also lightly rinse the adhesion surface of the substrate beforehand to ensure the adhesive bonds securely. Apply a small amount of adhesive to the substrate side, press the cut branch into place, and hold it steady for several tens of seconds. With instant adhesive, curing begins even underwater within seconds to tens of seconds, so once positioned, do not move it. Immediately after adhesion, place the frag temporarily in a calm area where water flow doesn't hit it directly, confirm there are no signs of detachment or tilting, then move it to its intended location—this is safer.
Environment for Promoting Attachment
Freshly adhered frags are temporarily stressed from the cutting process. Applying overly strong water flow or suddenly exposing them to brighter lighting than before can stress the tissue before it recovers. Initially place them in an area with moderately reduced water flow and light, and over several days to one or two weeks, gradually transition them to conditions closer to your desired environment. Water flow should be sufficient to prevent debris and algae from accumulating on the coral surface, but strong enough to dislodge the frag from its substrate should be avoided. Regarding lighting, the acclimation principles discussed in SPS Coral Lighting and PAR Value Guide apply directly to the frag attachment period.
Common Failures and How to Address Them
Common failures in frag creation include insufficient adhesive leading to frags being swept away by water flow, white tissue recession spreading from the cut surface, algae settling on the substrate before coral attachment, and other issues. If adhesion is failing, review the amount of adhesive and curing time; if you observe whitening or similar changes spreading, first check whether light and water flow changes are too abrupt. If you observe rapid deterioration resembling tissue necrosis that is difficult to self-diagnose, consult SPS Coral RTN/STN (Tissue Necrosis) Causes and Countermeasures as reference, and if no improvement is seen, seek advice from an aquarium specialty shop, experienced hobbyists, or if necessary, a veterinarian experienced in saltwater fish care. Basic husbandry conditions are compiled in Acropora (SPS) Husbandry Basics, so review this alongside for peace of mind.
Representative SPS Groups and Substrate Selection Tips
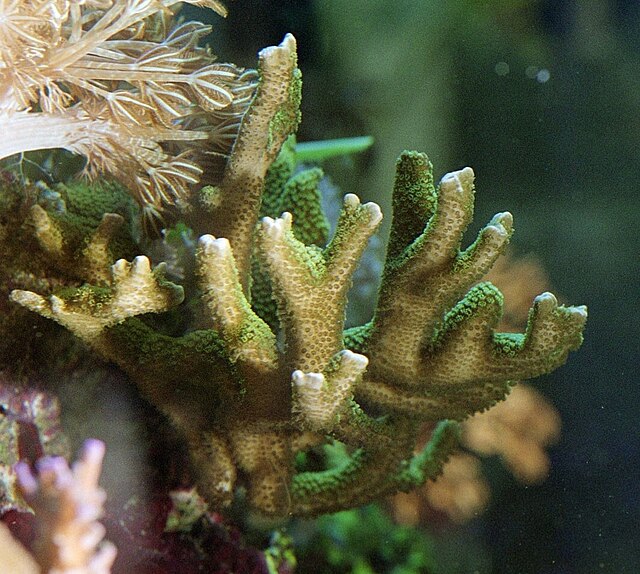
Common targets for fragging include Acropora, Montipora, Montipora digitata, Birdsnest, Seriatopora, Stylophora, Pocillopora, and others, each with different branch thickness, number of growth tips, and colony morphology. For corals with thin branches, be mindful of the contact area with substrate since adhesion surfaces tend to be small; for more massive forms, use epoxy putty to create broader support surfaces. Tailoring your approach to each species' growth form tends to improve attachment success. Comparing skeletal characteristics of each species in the coral guide at Coral Encyclopedia provides useful reference points when deciding where to cut.