How to Remove Dead Corals and Prevent Water Quality Deterioration
This article organizes the initial response when you notice a coral has died or its tissue has collapsed. It explains how to distinguish between living and dead corals, the safe removal procedure, water changes and water quality checks after removal, and reviewing the causes.
Key Takeaways
This article organizes the initial response when you notice a coral has died or its tissue has collapsed. It explains how to distinguish between living and dead corals, the safe removal procedure, water changes and water quality checks after removal, and reviewing the causes.
As you watch your tank, you may notice that a coral you usually see looks different. Its tissue has turned white, it is crumbling, or only the skeleton is visible. What you do first in such a situation can affect the condition of your entire tank. This article walks through the initial response when you realize a coral has died or its tissue has collapsed—from identifying whether it is alive or dead, through the removal procedure, to water quality management afterward.
First, Distinguish Between Living and Dead
Before hastily removing the coral, take a moment to calmly observe its condition. The points you want to check are:
- Is the tissue covering the skeleton? Even if it has thinned, if tissue remains there is room for recovery.
- How far has the skeleton been exposed? Whether it is spreading from the tip or from the base changes the situation.
- Are polyps extended, or is there a response when touched or at feeding time?
- Is the tissue dissolving and collapsing, with whitish films or thread-like material drifting nearby?
Even if part of the skeleton is exposed, if the remaining tissue looks healthy, you may be able to leave it and observe what happens. On the other hand, if the entire coral is down to skeleton and algae is beginning to attach to the surface, the tissue is likely already gone.
When you cannot decide, avoid jumping to conclusions. Isolate it in a separate container with seawater from your tank and observe it for several days. The isolation approach is also discussed in How to Set Up a Quarantine Tank for Saltwater Fish and Corals. The cause of tissue collapse is not always singular, and it is difficult to determine by appearance alone. For soft coral tissue collapse, Understanding When Soft Coral Soft Tissue Collapses is helpful, and for SPS tissue necrosis, SPS RTN, STN, and Causes of Tissue Necrosis is a good reference.
Why Leaving It Behind Can Worsen Water Quality
Dead coral tissue is a mass of organic matter. If left in the tank, as bacteria break it down oxygen is consumed, and ammonia and other nitrogen compounds or phosphate may be released into the water. If the coral is small the impact is limited, but with large colonies or individuals with high tissue mass, the burden on water quality can become significant.
When water quality worsens, the healthy corals around it are burdened in turn. White turbidity and bacterial blooms can occur; for how to understand these, see Causes and Solutions When the Tank Becomes Cloudy. However, not all coral deaths necessarily lead to water quality problems. How much impact occurs depends on tank volume, filter capacity, and the number of other individuals. That is precisely why it is important to assess the condition when you notice it and take action early if needed.
Removal Procedure
When removing the coral, be conscious of not scattering tissue into the tank and not damaging other corals. Following this sequence allows you to work calmly:
- Before you start, confirm the position of nearby individuals and identify any corals at a distance where you might touch them.
- Put on gloves and protective eyewear. This prevents tissue fragments from entering your eyes or through skin wounds.
- Prepare a separate container filled with seawater scooped from your tank. Do not use tap water or different seawater; match the water from your tank.
- Move the target coral as slowly as possible, transferring it to the separate container while underwater. Removing it into the air makes tissue fragments more likely to fall.
- If the coral is fixed to rock, carefully detach it without touching nearby corals. If the attachment point is hard, do not force it; use tools to remove it bit by bit.
- After removal, if any tissue fragments or debris are drifting in the tank, use a siphon or hose to collect them promptly.
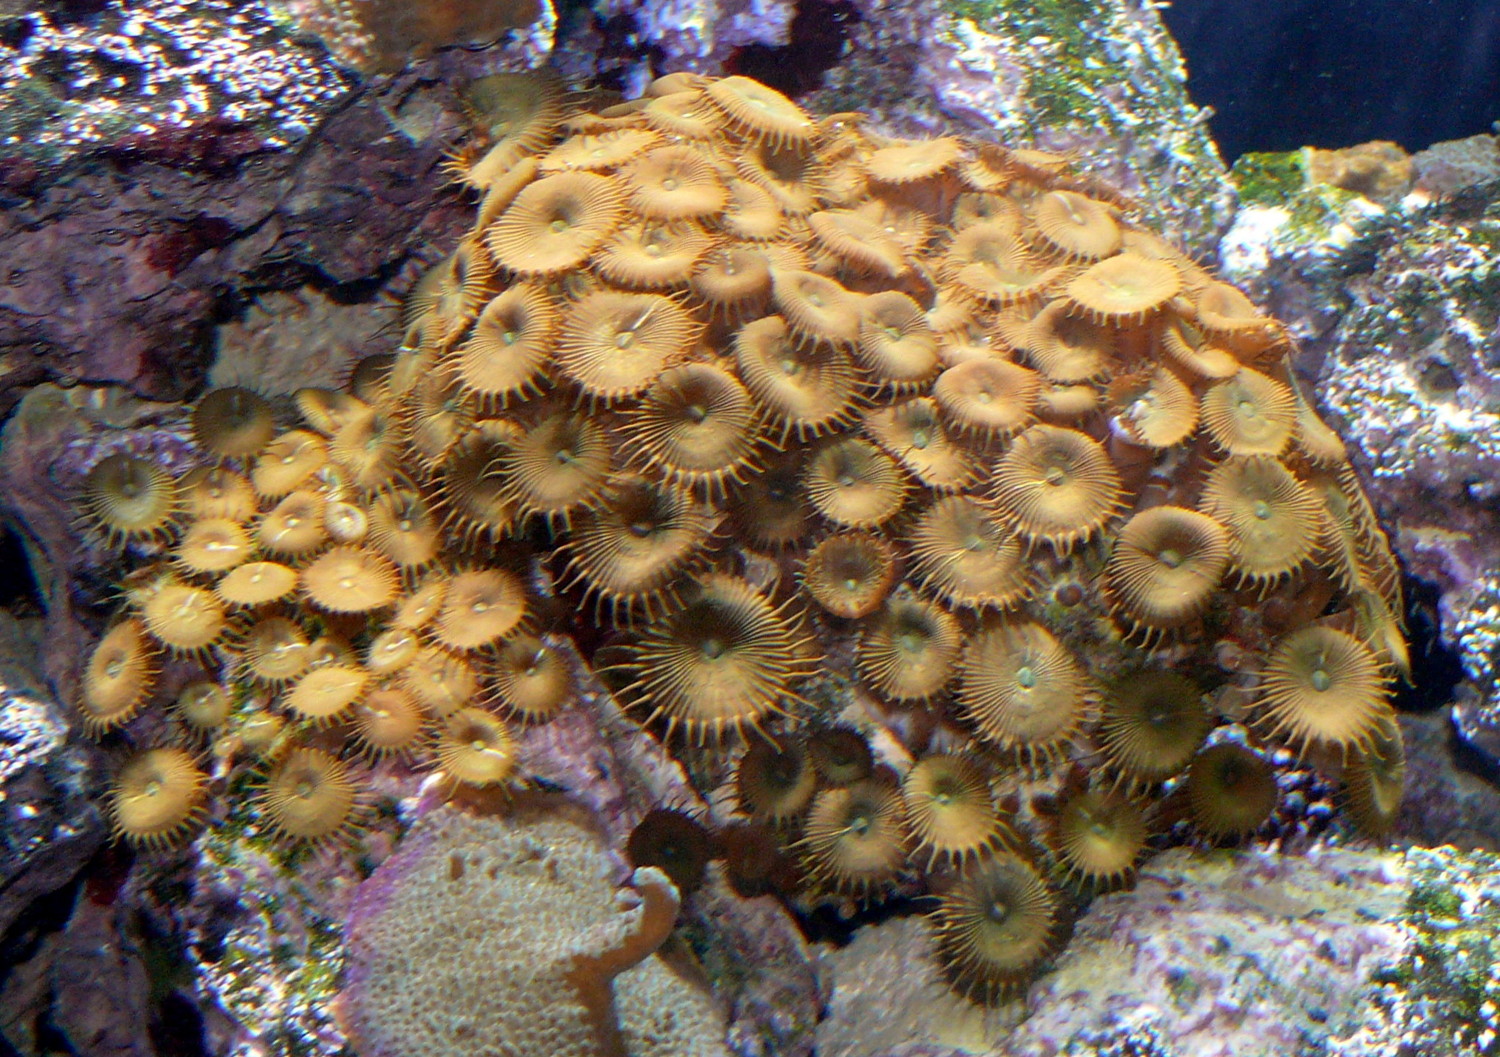
Some soft corals and zoanthids are known to contain toxic compounds in their tissue. Contact with wounds, eyes, or mouth can be dangerous, so avoid bare-handed work. A detailed handling guide is in Safe Handling of Corals with Toxin Awareness.
Water Changes and Water Quality Checks After Removal
Once removal is complete, move on to stabilizing water quality.
- Perform a small to moderate water change to dilute organic matter in the water. For methods and frequency, refer to Marine Tank Water Change Methods and Frequency.
- Use activated carbon to help absorb components dissolved in the water. Follow the product instructions for use.
- For several days after the procedure, check ammonia, nitrite, nitrate, phosphate, and other parameters with test kits, and watch whether values are changing significantly.
- Also observe the water's clarity, any change in odor, and how well other corals' polyps are opening.
Changing a large amount of water at once can cause water parameters to shift suddenly, which can be a burden in itself. Until the situation stabilizes, it is safer to check gradually as you proceed.
Impact on Other Specimens and Reviewing Causes
Over days or weeks, observe whether other individuals are affected by the same cause. Pay particular attention to individuals on the same rock, those placed nearby, and those of the same species—this makes it easier to notice changes.
When reviewing the cause, records are invaluable. Arrange recent water parameter values, water change timing, changes to lighting or flow, the addition of new individuals, and changes to feeding in chronological order. The importance of keeping records is explained in detail in Why You Should Keep Records of Your Coral Collection. ReefBook provides a system for recording the history of the corals you keep, so when researching species, make use of the Coral Catalog as well.
However, identifying the cause is not simple. Multiple factors often overlap, and treating it as "one possibility" rather than making a definitive claim is more realistic. If you cannot determine the cause, or if symptoms spread to other individuals, do not try to handle it alone—consult a specialist shop or expert knowledgeable about corals and aquariums. Having water parameter values, records of when symptoms appeared, and photos ready makes it easier to explain the situation.
Coral death happens to everyone. By calmly assessing the condition, following the removal procedure, and carefully monitoring water quality and surrounding individuals, you can improve the chances of keeping damage to a minimum.