Setting Up a Reef Tank | From Cycling to Initial Maintenance
A guide to setting up a coral tank from scratch. Covers the placement of live rock, waiting for the nitrogen cycle (cycling), the algae bloom sequence that occurs during startup, and the timing for introducing your first corals.
Key Takeaways
A guide to setting up a coral tank from scratch. Covers the placement of live rock, waiting for the nitrogen cycle (cycling), the algae bloom sequence that occurs during startup, and the timing for introducing your first corals.
A coral tank is not completed in a single day. Because corals require more stable water chemistry than fish-only tanks, carefully conducting the "cycling" process during startup has a major impact on your future success. Here, we'll walk you through the process from assembling your equipment through bringing home your first corals, in a beginner-friendly way.
Setting Up Equipment and Layout
First, install your tank, filter, protein skimmer, lighting, powerheads, and heater. Mix your synthetic seawater to the proper specific gravity (around 1.025, salinity 35‰) and fill the tank. Arrange your live rock to create the layout and add substrate. At this stage, thoroughly verify that all plumbing and equipment are functioning and that there are no leaks.
Checking for leaks is a task you can do without hesitation before adding livestock. After filling the tank, leave it undisturbed for several days and check daily by eye for any seepage from caulked joints, overflow pipe connections, and plumbing fittings. If the tank is on a floor, place a pan or towel beneath it beforehand to minimize damage in case of an emergency.
Rather than starting with maximum light intensity and the longest photoperiod, the fundamental approach is to acclimate gradually over time. Exposing the tank suddenly to strong light promotes excessive algae growth during early startup. For water flow, different coral types prefer different current patterns, so combining multiple powerheads to create areas of varying flow strength throughout the tank helps you adapt to whatever corals you may introduce later.
Also consider your contingency plan for power outages and equipment failures at this stage. Having a backup power supply for aeration and spare heaters and pumps on hand lets you respond calmly when issues arise. Double-check the weight capacity of your stand and the level of the installation surface before constructing your layout.
Waiting for the Nitrogen Cycle to Establish
Ammonia, which is toxic to livestock, is broken down by bacteria into nitrite and then nitrate. Establishing this "nitrogen cycle" typically takes 3–6 weeks. Introduce an ammonia source to cultivate the bacteria, and wait until test kits show zero ammonia and nitrite with nitrate present. Rushing to add livestock at this point leads to incomplete water chemistry and sets you up for failure.
During cycling, it helps to keep regular records using test kits. Recording ammonia, nitrite, and nitrate levels makes it easier to review bacterial growth and cycle progression later. While commercial bacterial additives can sometimes accelerate cycle establishment, the fundamental approach is always to verify results with actual test kit readings regardless of what methods you use.
During this period, frequent water changes are generally not recommended. If you do large water changes before bacteria are established, you may remove the bacteria you've worked to cultivate, delaying cycle establishment. Resist the urge to make frequent adjustments and patiently wait for test kit readings to stabilize.
Managing the Succession of Algae Blooms
Before and during cycling, unsightly algae blooms—such as diatoms (brown algae) and cyanobacteria—will appear in succession. This is a natural part of a new tank stabilizing. Don't panic excessively; manage it through water changes, light adjustment, and nutrient control. Eventually the algae will decline and the tank will gradually stabilize.
Algae growth is also influenced by light distribution and water flow stagnation. Areas shaded by live rock where water movement is weak, and surfaces receiving strong continuous light, tend to show more visible algae. Regularly review your layout for dead zones and experiment with subtle adjustments to water flow direction—even small changes can affect how algae grows.
During this period, gradually increase the frequency of rinsing filter media and cleaning the skimmer cup. If your skimmer is effectively removing waste, nutrient accumulation is suppressed, which helps keep algae in check. Whether to add cleanup crew like snails and hermit crabs is a decision best made once the tank has stabilized somewhat.
Timing the Introduction of Your First Corals
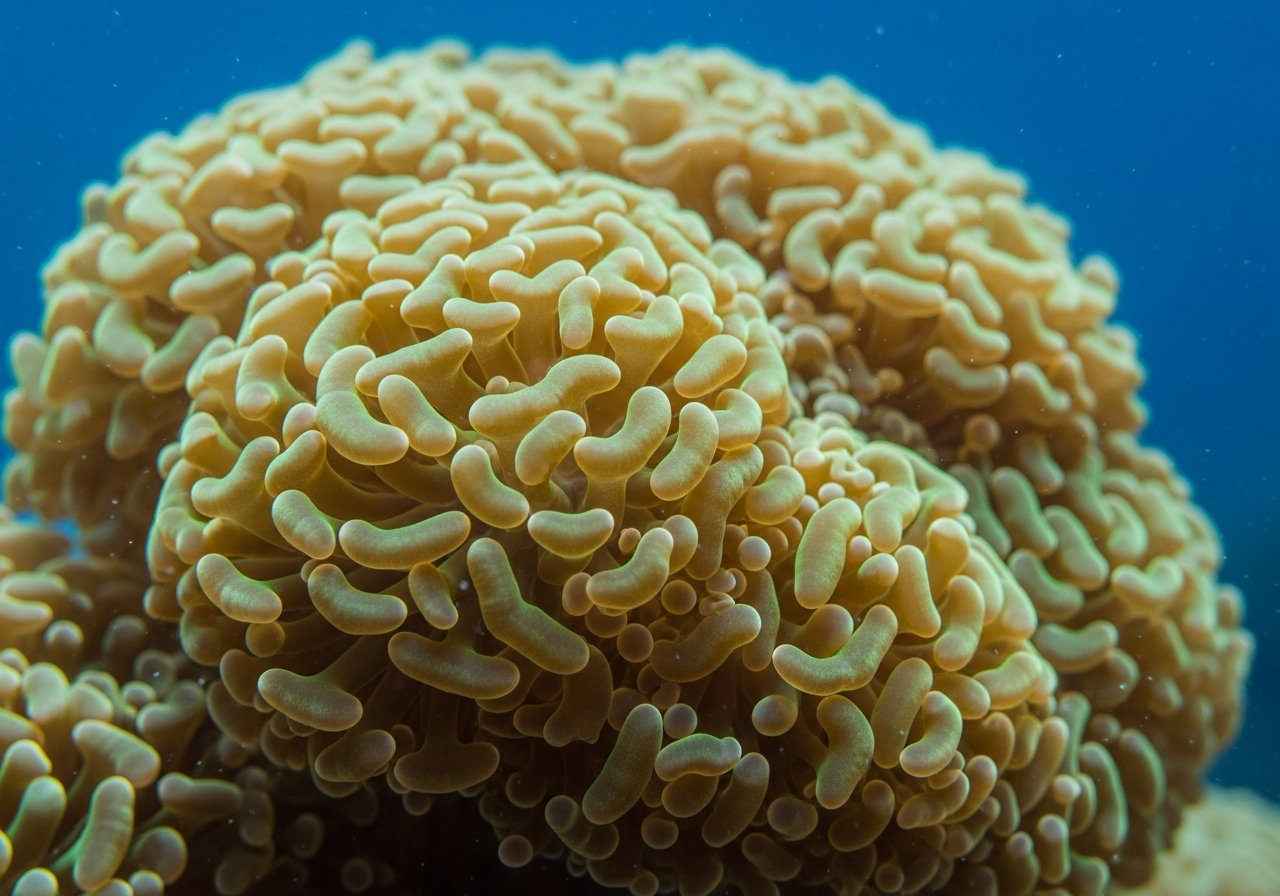
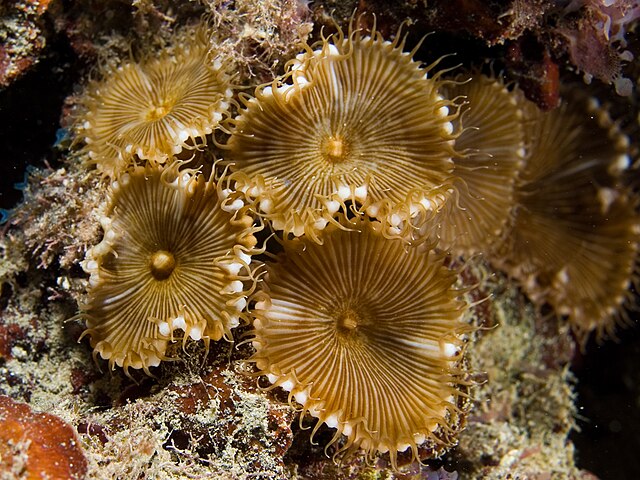
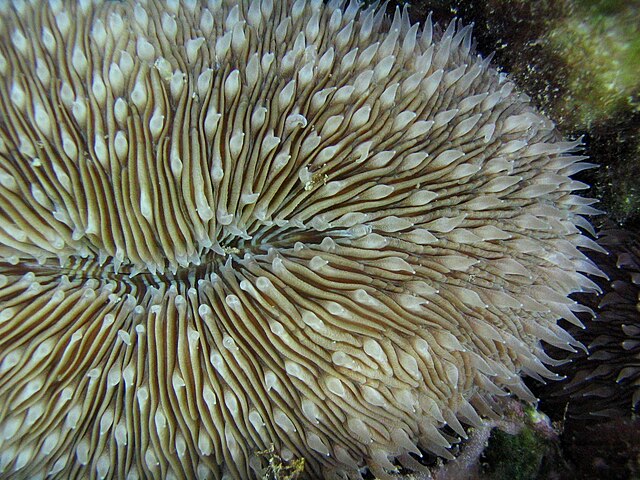
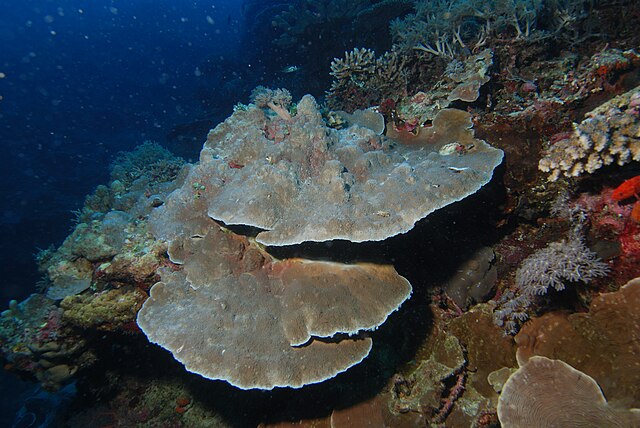
Once water chemistry stabilizes and algae blooms subside, it's time for corals. Start with hardy soft corals or some LPS (large polyp stony corals); introducing SPS (small polyp stony corals) immediately is best avoided since young tanks have unstable chemistry. Add specimens gradually, monitoring the tank's response.
When introducing new corals, careful acclimation is essential. The water in the bag or bucket usually differs in temperature and specific gravity from your tank water, so acclimate gradually by slowly introducing tank water over time. Sudden environmental changes are highly stressful for corals. If possible, set up a separate observation container to monitor the coral's condition before moving it to the main tank.
Newly introduced corals aren't yet acclimated to the tank's lighting. Place them initially in a lower-light area and gradually move them over days to weeks toward their intended position to avoid bleaching and other problems. Rather than adding multiple corals at once, wait and observe the tank's overall condition and existing corals' response after each addition before considering the next.
Establishing Initial Maintenance Habits
After startup, establish a routine of regular water changes (typically 10–20% weekly), checking specific gravity, temperature, and alkalinity (KH), and cleaning the skimmer and glass. Keeping records helps you spot trends and detect problems early. Diligent, consistent management is what sustains a beautiful reef.
When you have few corals, calcium and KH management through additives often isn't needed—regular water changes are usually sufficient. Wait until coral numbers increase noticeably before considering supplements. Rather than pursuing complex management from the start, prioritize establishing a routine of water changes and parameter checks.
In daily observation, notice changes in coral polyp extension and color, fish swimming behavior and appetite—don't miss these signals. Early detection of subtle changes gives you time to investigate causes and respond. Keep records of water change dates, parameter readings, and livestock behavior; later review makes it clear what worked and what didn't.
Having backup pumps and heaters on hand protects against unexpected failures. If equipment stops during summer heat or winter cold, the entire tank suffers. Regularly observe and listen to your equipment—noting changes in pump sounds or water flow helps catch problems early.
Setting up a reef tank involves a lot of waiting, but each step builds toward future stability. If you proceed patiently, watching your tank mature, you'll create an environment where corals flourish. Impatience is your greatest enemy—take your time building a solid foundation.