Coral Acclimation and Introduction Procedure: First Steps to Welcoming a New Specimen
Essential steps and key points for acclimating corals when introducing them to your tank. Explains how to equalize temperature and water quality, and what to observe after introduction.
Key Takeaways
Essential steps and key points for acclimating corals when introducing them to your tank. Explains how to equalize temperature and water quality, and what to observe after introduction.
As mentioned in How to select corals and quarantine treatments when bringing them home and Important things to know when buying corals online, after selecting a healthy specimen and completing necessary treatments, the crucial step that follows is acclimation. The water in shipping bags or containers often differs significantly in temperature, specific gravity, pH, and other parameters from your aquarium water, and introducing corals directly into these different conditions creates substantial stress. Here, we explain the specific steps for acclimation and key points to observe after introduction.
Why gradual acclimation is necessary
Water in shipping bags or containers gradually cools over time, and its chemistry changes due to respiration and waste products from the living organism. Placing a coral directly into your aquarium water without acclimation means multiple factors—temperature, specific gravity, and pH—shift suddenly all at once, potentially causing tissue damage and triggering problems later. By gradually bringing water chemistry closer to your tank conditions, you can soften the shock from these sudden changes.
Start with temperature matching
The first step is temperature adjustment. Place the unopened bag or container directly in your aquarium water for approximately 15–20 minutes to allow the water temperature inside to approach that of your tank. At this stage, do not add aquarium water directly into the bag; focus solely on temperature alone, matching it gradually. Avoid using hot water or ice to speed up the process; allow the temperature difference to narrow naturally. However, leaving the bag sitting for hours unopened is also undesirable. As time passes in a sealed bag, oxygen depletes and waste accumulates, so keep the temperature-matching phase brief and do not let it drag on.
Use the drip method to match water chemistry
Once temperatures are close, move on to matching water chemistry parameters such as specific gravity and pH. The standard method is the drip acclimation method, where you use a thin airline tubing to add aquarium water one drop at a time, or in small increments, to the container holding the shipping water. Gradually dilute the shipping water until the container volume is roughly doubled. Adding large amounts of water all at once defeats the purpose and mimics a sudden change, so taking time is the most important factor. A common guideline is 30 minutes to 1 hour, with more sensitive species warranting extra caution and longer adjustment periods.
Adjust timing based on coral type
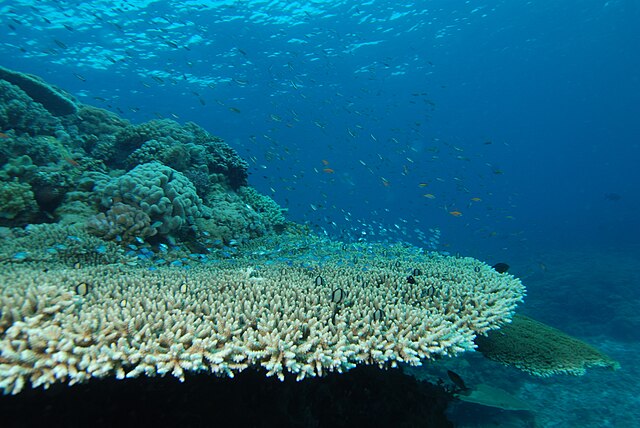
Not all corals require the same acclimation time. SPS corals like Acropora are considered sensitive to sudden shifts in water chemistry and typically benefit from a longer, more cautious acclimation. Soft corals, on the other hand, are generally more resilient and may adapt even with a shorter process, but this does not mean you should skip steps—basic procedures should remain consistent. Optimal timing varies depending on the specimen's condition and the length of shipment, so maintaining flexibility while observing the coral's behavior is important.
Consider lighting and flow after introduction
Once water chemistry acclimation is complete, it is time to place the coral in the main tank, but placement location matters too. During shipping and packing, corals are typically kept in darkness, so immediately placing them under strong lighting or strong water flow can add additional stress. Start by placing the coral in a part of the tank with gentler light and flow, then gradually move it over several days to a week or two toward its final intended location, allowing it to acclimate more smoothly to its new environment.
Observation points after introduction
In the days following introduction, observe regularly whether polyps are opening fully and whether tissue color and firmness show any changes. Signs such as excessive mucus production, polyps remaining retracted, or whitish-looking tissue are typically stress responses to environmental change and are not necessarily fatal. However, if no improvement appears after several days or symptoms worsen, review your water parameters and placement. Rapid tissue recession may indicate other issues such as RTN/STN (tissue necrosis) in SPS corals: causes and solutions, so if the situation does not improve, consult with an aquarium specialty shop or an expert in coral husbandry.
Acclimation may seem like a straightforward task, but it is a critical process that significantly affects whether a new coral successfully integrates into your tank. By consciously approaching temperature, water chemistry, and lighting and flow adjustments in stages rather than all at once, you can greatly reduce introduction-related problems.