How to Choose Corals and Quarantine Procedures on Arrival | Fundamentals of Dipping and Quarantine
Checkpoints for choosing corals without failure and procedures for dipping and quarantine to prevent introducing pests and disease. We've compiled practical tips for identifying healthy specimens and protecting your aquarium.
Key Takeaways
Checkpoints for choosing corals without failure and procedures for dipping and quarantine to prevent introducing pests and disease. We've compiled practical tips for identifying healthy specimens and protecting your aquarium.
Bringing home a new coral is one of the great joys of reef keeping. However, if you choose incorrectly or mishandle the introduction process, you risk spreading pests and disease to your existing aquarium. Here, we'll introduce how to identify healthy specimens and the basics of quarantine procedures (dipping and quarantine) to protect your tank.
How to Identify Healthy Specimens
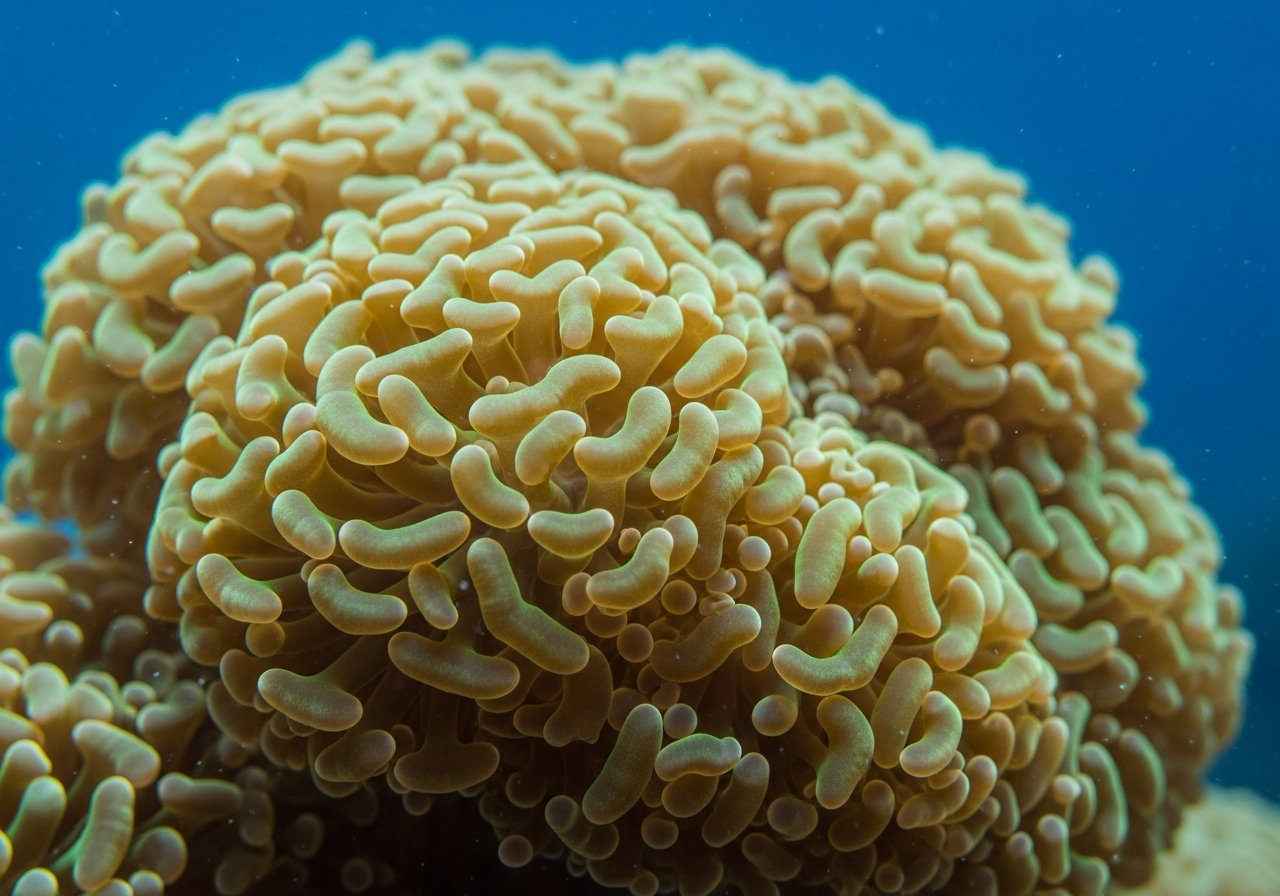
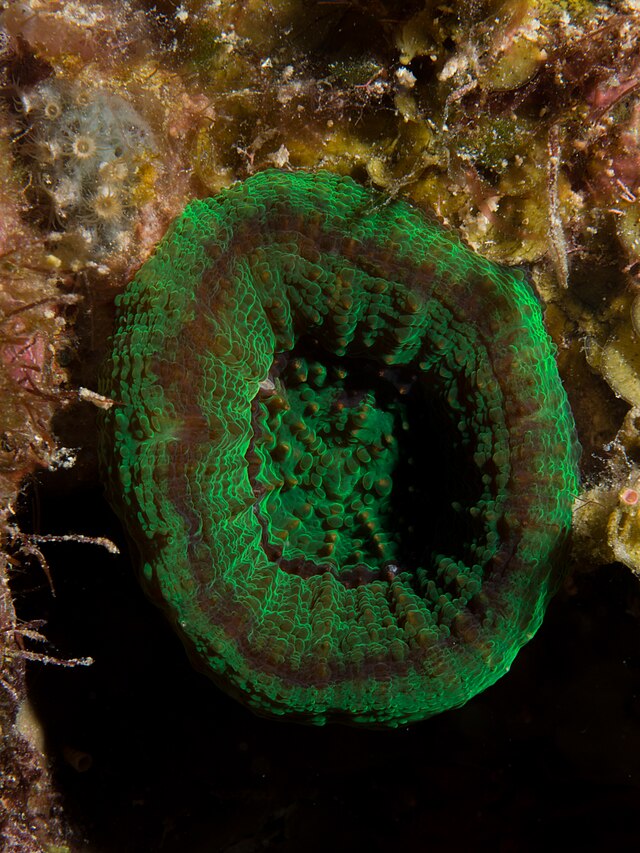
At the store, check that polyps are fully extended and that the tissue has firmness and good coloration. Bleaching at the tips or base, tissue peeling, and abnormal mucus secretion are signs of stress or disease. Check that no skeleton is exposed and that there are no algae or unfamiliar growths on the base. If possible, ask whether the specimen has been stable at the store for several days.
For closer inspection, also confirm that there's no extreme difference in color or texture between the tip and base, and that tissue isn't peeling away from the skeleton. The response to light and the opening and closing of polyps under water flow are also clues to the specimen's health. Carefully examine the base and nearby rock surface for unfamiliar small organisms or egg-like clusters. Specimens that have been in the store tank longer are likely better acclimated to the water conditions and environment, but keep in mind they may also be more susceptible to influence from neighboring corals.
Before Introduction — Why Treatment is Necessary
Corals can harbor microscopic pests such as nudibranchs, amphipods, and flatworms that are difficult to see with the naked eye. Once these enter and multiply in your tank, they become extremely difficult to eradicate. Taking the time to treat new corals on arrival is the best insurance against major problems later.
Beyond pests, undesirable algae and cyanobacteria spores or fragments can also be introduced hidden in the base or live rock crevices. Treatment protects not just the specimen itself, but guards against all such "invisible introductions." The more diverse corals and tankmates your existing aquarium contains, the wider the impact of a single introduction problem can spread, so it's important to follow proper procedure even when adding just one specimen.
Dipping Procedure
Prepare coral dip at the specified concentration. First acclimate the coral in aquarium water, then immerse it for the designated time. During this period, gently rock or gently blow with a pipette to dislodge hidden pests. After dipping, thoroughly rinse with clean aquarium water to remove any pests or eggs before transferring to the main tank. Carefully inspect the frag mount or base as well.
Dip solutions come in several types, each suited to different pests or coral conditions. If unsure, ask the store which dip they use and how they recommend using it—this will make your home procedure smoother. Keep a separate disposal container for pests and debris that dislodge during dipping, rather than returning them to the rinsing water, to prevent accidental contamination.
Acclimation Tips
Before and after dipping, avoid sudden changes between the transport water's temperature and chemistry and your aquarium water. Float the entire bag in your aquarium water to equalize temperature, then slowly add aquarium water—this common method reduces osmotic stress on the coral. Rushing the transition can compound transport stress, so taking time with gradual acclimation is ultimately the faster approach.
The Quarantine Tank Option
For extra caution, you can observe the specimen in a separate "quarantine tank" for several weeks. This allows you to observe in isolation for any pests or disease and prevents problems from affecting your main tank. Though it requires effort, as your collection grows, this insurance policy becomes increasingly valuable.
The quarantine tank doesn't need to perfectly replicate your main tank's lighting and flow, but providing adequate light to keep the coral healthy and matching temperature and specific gravity reduces stress during transfer. If abnormalities appear during quarantine, you have the advantage of being able to re-dip just that specimen or extend observation—flexibility only possible in isolation. When adding multiple specimens, keeping separate records for each helps trace causes later if problems occur.
Placement and Acclimation to Light and Flow on Introduction
When moving from quarantine to the main tank, don't place it in its final spot immediately. Start in an area with subdued light and flow, then gradually move it to the intended location as the specimen responds. If you notice poor polyp extension or tissue contraction, resist changing conditions—let the coral settle in the same spot before relocating. Pay attention to spacing between nearby corals and allow room so that specimens with aggressive tentacles or allelopathic potential won't contact neighbors as they grow, preventing future conflicts.
Don't Neglect Post-Introduction Observation
Continue observing carefully for several days after introduction to the main tank. Shining a flashlight at night can reveal pests that hide during the day. Check polyp extension, color, and tissue condition daily—early detection of problems minimizes damage.
When observing, monitor your entire tank, not just the new specimen. Watch for any changes in existing corals or tankmates triggered by the introduction—catching problems early before they spread is crucial. If you notice anything concerning, don't just wait—consider re-dipping, relocating, or re-isolating if necessary. Early intervention protects your entire collection.
Things to Confirm at Purchase
When purchasing at a store, ask about the specimen's import history and how long it's been in their care—this helps guide your home care. Whether the coral was aquaculture-raised or wild-collected affects its adaptability and handling, so confirm if possible. Don't rush the purchase; ask questions about anything that concerns you and take it home only once you're satisfied.
The Habit of Keeping Individual Records
Keep records of when you acquired each specimen, its condition at the time, and the treatments you performed. Regular photos let you spot changes in color or shape by comparing to past images, especially subtle changes you might miss otherwise. When managing multiple specimens, separate records for each one make it easier to track relationships between problems.
Choosing quality corals and careful treatment are the foundation of maintaining tank health. Don't rush—thorough selection and taking the extra steps are the secrets to maintaining a beautiful reef long-term. Welcome new additions with proper preparation. Building records over time sharpens your eye for selecting corals in the future.